DIY Play Structure
I decided to design and build my son a play structure.
A lot of the play structures out there that are less than a grand are made of just 2x4s and I've read reviews where they start to break up within the first year. Plus, they have stuff that my son is getting a bit big for or are only good for multiple kids - not much fun for an only child.
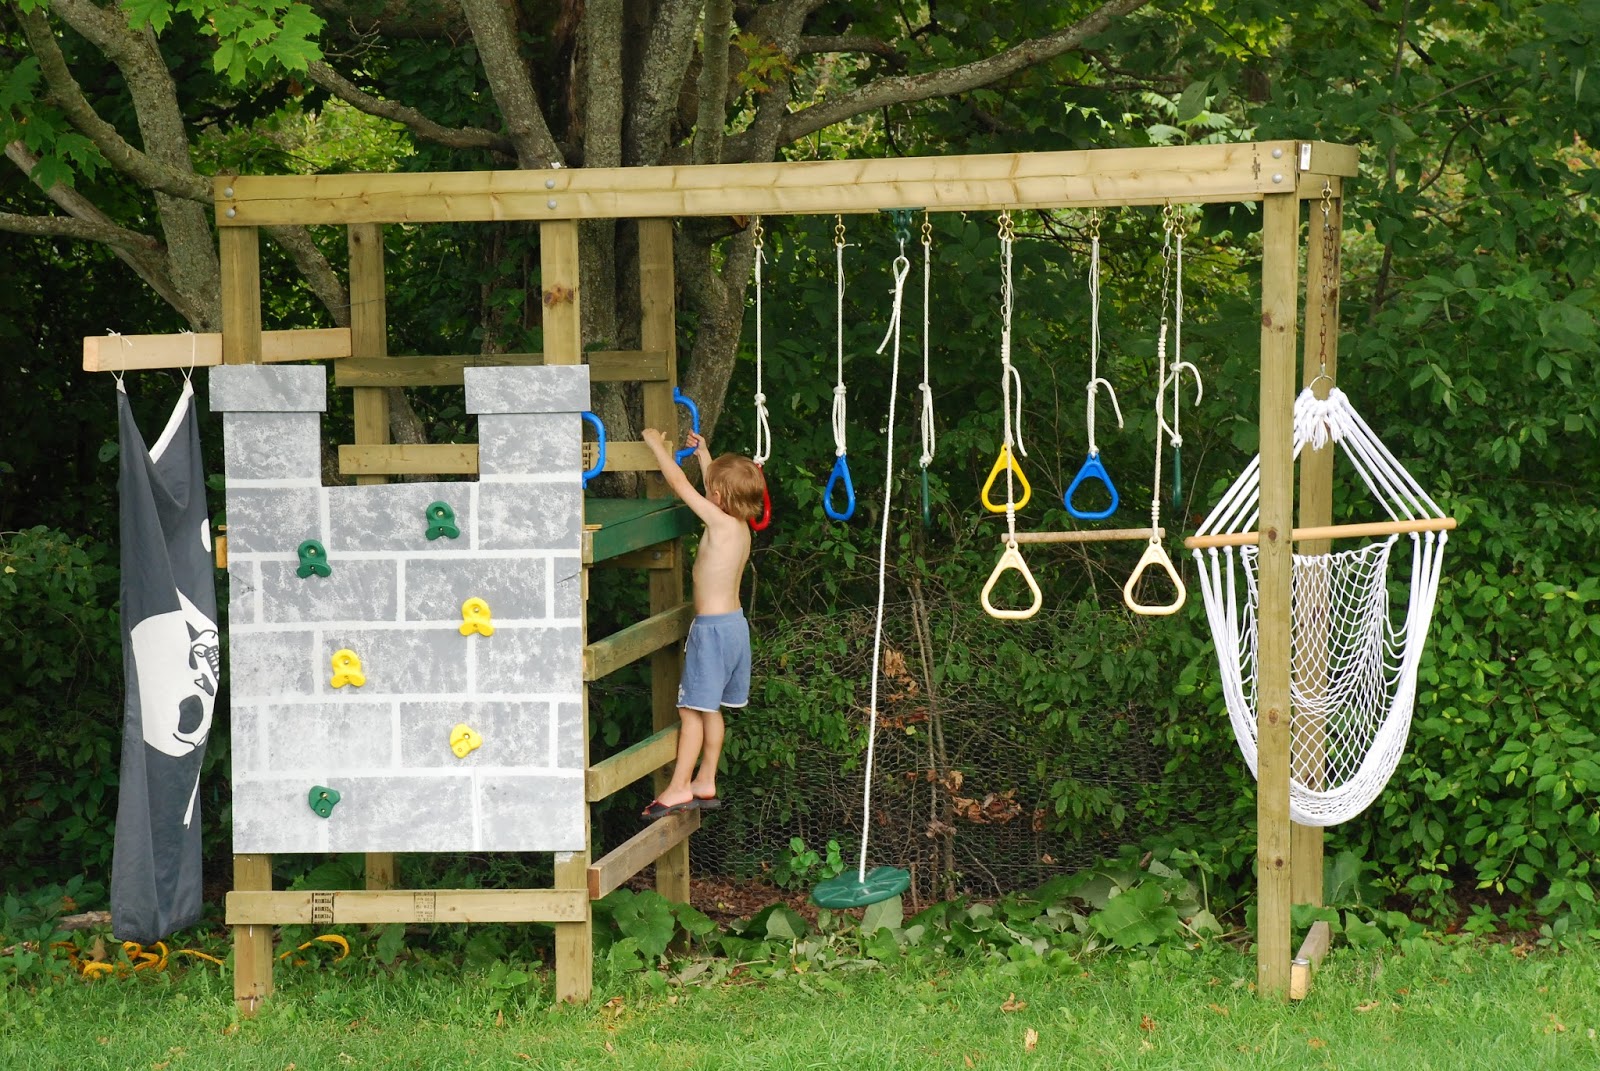
And at one end is a hammock chair I bought 15 years ago and never found
a place to use - this way I can enjoy it too!
I got most of the lumber at the Depot, pressure treated. 4x4 posts, 2x6s across the top, attached with huge bolts. I made the front and back panels on the ground, the lifted them (with help), and attached them together with 2x4s. Then I had it wired to the tree for stability (thanks to my brother-in-law Gabor for the muscle!)

A fort at one end, made from 2x4 supports and a repurposed pallet, covered with plywood, with a space to park his ride on toy underneath.

He must scale a castle wall (with climbing rocks) to get in or climb a ladder. To paint the castle wall, I painted the whole sheet of plywood light grey, taped off the grout lines and dabbed a darker grey with a wad of bubble wrap.

There's a spin/swing disc, a trapeze bar with rings and monkey rings. For the spinning swing, I used this swing hanger.


The last step is to get some canvas to close in two sides of the fort and a roof, plus mosquito netting for the other two sides - so he can enjoy his fort without being eaten alive.
I shopped around to find all the components. I got the hardware for hanging stuff, the monkey rings, spinning swing and handles at northlandsupply , ordered the climbing rocks from ToysRUs and the rest was from Home Depot.


puige le voir nu
ReplyDelete